$ 0
0
$ 0
0

Cubex QXR920 10217 Surface Drill GenV Maintenance Manual

Format: PDF (Printable Document)

File Language: English

File Pages: 327

File Size: 14.30 MB (Speed Download Link)

Brand: Cubex

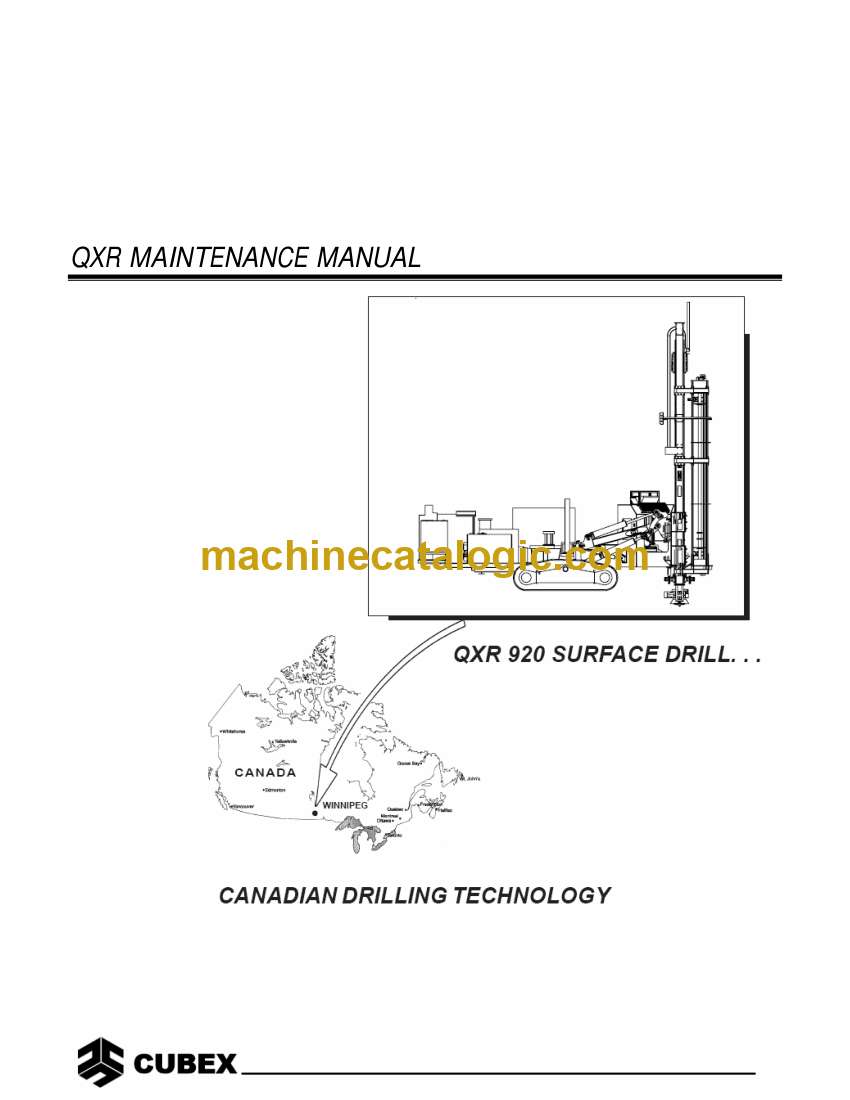
Model: QXR920 10217 Surface Drill GenV

Type of Document: Maintenance Manual

Category:

$ 45

Share:

Cubex QXR920 10217 Surface Drill GenV Maintenance Manual

Cubex QXR920 10217 Surface Drill GenV Maintenance Manual

Out on a bench or quarry face, the Cubex QXR920 is working hard in dust, vibration, and constant load, so staying ahead on maintenance is what keeps it drilling straight and starting every shift. This GenV Maintenance Manual is what I’d use to plan service before things fail, and to double-check procedures when something feels off. For example, if the drill string starts chattering or penetration slows, I’d use this manual to walk through the recommended inspections, verify adjustments, and decide what needs to be replaced or just cleaned and re‑torqued.

Applications & Use Cases

  • Plan routine services so filters, wear parts, and fluids are handled on schedule, not after a breakdown.
  • Trace odd noises or vibrations back to likely components and isolate the cause before tearing half the rig apart.
  • Inspect and verify critical fasteners, mounts, and guards after transport or heavy impacts.
  • Align and test drill-related systems after component swaps so the rig tracks and drills true.
  • Build a consistent maintenance checklist for operators and night-shift mechanics.

FAQ

Q: Can I keep this manual on a tablet in the field?

A: Yes, it’s practical to use digitally; you can zoom diagrams and search terms, then protect the device in a rugged case.

Q: Is it worth printing parts of this manual?

A: Many mechanics print the most-used procedures and keep them in a binder near the service truck for quick, dirty-hands reference.

Safety Note

Always lock out, tag out, and verify all stored energy is released before you put tools or hands on the drill.

📘 Show Index

Cubex QXR920 10217 Surface Drill GenV Index:

  • 1.1 Operating/Maintenance Safety
    • 1.1.1 Drill Operation and Maintenance Safety
    • 1.1.2 General Safety Instructions
    • 1.1.3 Safety Instructions for Driving and Operating
    • 1.1.4 Safety Instructions for Servicing
    • 1.1.6 Fluid and Filter Notices:
    • 1.1.7 Safety Reminders:
    • 1.1.8 Extinguishing Fires
  • 2.1 Drill Assembly
  • 2.2 Break-in Maintenance
  • 2.3 Preventative Maintenance Program
    • 2.3.1 Lubrication
      • 2.3.1.1 Rock Drill Grease
      • 2.3.1.2 Lubrication Points and Intervals
      • 2.3.1.3 Lubrication Types
      • 2.3.1.4 Lubrication Cross-over
      • 2.3.1.5 Centralized Machine Lubrication
      • Hose Reel Lubrication
    • 2.3.2 Bolt Torque
    • 2.3.3 Drill Filtration Points and Intervals
    • 2.3.4 Pipe Thread Grease Pump
      • 2.3.4.1 Safety
      • 2.3.4.2 Maintenance
  • 2.4 Recommended Tools:
  • 3.1 Track Adjustment
  • 3.2 Final Drive
  • 4.1 Mast Feed System
    • 4.1.1 QXR Feed Chain Adjustment
    • 4.1.2 Slider Adjustment
    • 4.1.3 Carrier Block
    • 4.1.4 Feed Chain Block
    • 4.1.5 Jib Boom
    • 4.1.6 Lower Mast
      • 4.1.6.1 Overhaul procedure
  • 4.2 Top Drive
    • 4.2.1 Checking Bearing Pre-load
    • 4.2.2 Adjusting Bearing Pre-load
    • 4.2.3 Removing Top Drive
      • 4.2.3.1 Using the Right Equipment
    • 4.2.4 Disassembly Procedure
    • 4.2.5 Installation of Pinion Gears and Bearings
    • 4.2.6 Driveshaft Assembly and Installation
    • 4.2.7 Setting Bearing Preload
    • 4.2.8 Installing Upper Seal and Housing
    • 4.2.9 Installing Air Swivel and Hydraulic Motors
    • 4.2.10 Saver Sub
      • 4.2.10.1 Removal
      • 4.2.10.2 Installation
    • 4.2.11 Air Swivel
      • 4.2.11.1 Removing Air Swivel
      • 4.2.11.2 Installation of Air Swivel
      • 4.2.11.3 Dismantling Air Swivel
      • 4.2.11.4 Inspection of Parts
      • 4.2.11.5 Assembly Procedure
  • 4.3 Top Drive Motor
  • 4.4 Breakout Wrench
  • 4.5 Carousel Assembly
    • 4.5.1 Carousel Adjustment
      • 4.5.1.1 Pipe Clamp Adjustment
      • 4.5.1.2 Clamp Arm Adjustment
  • 4.6 Expander Pin System – Mast Boom
    • 4.6.1 Torque and Maintenance Intervals
      • 4.6.1.2 Torque Schedule
      • 4.6.1.3 Mounting/Dismounting Tools
      • 4.6.1.4 Installation
      • 4.6.1.5 Dismounting
  • 5.1 Hydraulic Symbols
  • 5.2 Hydraulic Circuits
  • 5.3 Hydraulic Pump
    • 5.3.1 Installation
      • 5.3.1.1 Pre Start-up
      • 5.3.1.2 Start-up
    • 5.3.2 Adjustments
      • 5.3.2.1 System (Operating) Pressure Adjustment
      • 5.3.2.2 Stand-by Pressure Adjustment
    • 5.3.3 Testing the Pump
    • 5.3.4 Troubleshooting the Pump
    • 5.3.5 Factors Affecting the Pump’s Life
      • 5.3.5.1 Contaminated Fluid
      • 5.3.5.2 Poor Suction Conditions
      • 5.3.5.3 Excessive Case Pressure
      • 5.3.5.4 Too Low an Operating Pressure
      • 5.3.5.5 Cavitation/Aeration
  • 5.4 Hydraulic Cylinders
    • 5.4.1 Double Acting Cylinders
    • 5.4.2 Cylinder Inspection
    • 5.4.3 Cylinder Overhaul
  • 5.5 Control Valves – On/Off Types
    • 5.5.1 Control Valves
    • 5.5.2 Relief Valve Adjustment
    • 5.5.3 Valve Pressure Adjustment
    • 5.5.4 Valve Flow Adjustment
    • 5.5.5 Valve Overhaul
    • 5.5.6 Valve Sections
    • 5.5.7 Solenoid
    • 5.5.8 Lever Section
    • 5.5.9 Valve Assembly
    • 5.5.10 Inlet Section
  • 5.6 Motorized Pulldown and Holdback Control
    • 5.6.1 Adjusting Pulldown – Maximum Pressure
    • 5.6.2 Adjusting Holdback – Maximum Pressure
  • 5.7 Counterbalance Valves
    • 5.7.1 Making Adjustments
    • 5.7.2 Troubleshooting
  • 5.8 Hydraulic Filtration
    • 5.8.1 Change Hydraulic Fluid Every 2000 Hours
    • 5.8.2 Return Filters
    • 5.8.3 Pressure Filter Element
  • 5.9 Proportional Valves
    • 5.9.1 Proportional Valve Settings
    • 5.9.2 Flow Settings
    • 5.9.3 Pressure Setting
  • 6.1 Air Schematic
  • 6.2 Sullair Compressor
    • 6.2.1 Compressor Unit Functional Description
    • 6.2.2 Compressor Discharge System Functional Description
    • 6.2.3 Compressor Cooling and Lubrication System Functional Description
    • 6.2.4 Air Inlet System Functional Description
    • 6.2.5 Lubrication Guide
    • 6.2.6 Application Guide
    • 6.2.7 Control System
      • 6.2.7.1 Purpose of Controls
      • 6.2.7.2 Butterfly Inlet Valve Functional Description
      • 6.2.7.3 Closed Inlet Start Program
      • 6.2.7.4 Normal Operation
      • 6.2.7.5 Modulation
      • 6.2.7.6 Unload
      • 6.2.7.7 Compressor Start Up Mode and Running Mode Low Air Pressure
      • 6.2.7.8 Manual Unload Mode
      • 6.2.7.9 Running Mode 350 psi Air Pressure
      • 6.2.7.10 Running Mode 500 psi Air Pressure
      • 6.2.7.11 Instrumentation and Protection
      • 6.2.7.12 Start Up and Shutdown Procedures
      • 6.2.7.13 Adjustment Procedures
    • 6.2.8 Compressor Maintenance
      • 6.2.8.1 Main Fluid Filter Service
      • 6.2.8.2 Thermal/Bypass Valve
      • 6.2.8.3 Separator Element Replacement
      • 6.2.8.4 Running Blowdown Valve Maintenance
      • 6.2.8.5 Shutdown Blowdown Valve Maintenance
      • 6.2.8.6 Minimum Pressure/Check Valve Maintenance
      • 6.2.8.7 Discharge Check Valve Maintenance
      • 6.2.8.8 Safety Valve
      • 6.2.8.9 Pressure Regulator (Low / High Air Pressure Regulator)
      • 6.2.8.10 Fluid Stop Valve
    • 6.2.9 Screw Compressor
      • 6.2.9.1 Screw Compressor Arrangement
      • 6.2.9.2 Compressor Operator Daily Checklist
      • Compressor Operator Daily Checklist
      • 6.2.9.3 Maintenance Schedules
      • 6.2.9.4 Compressor Lubrication Crossover
      • 6.2.9.5 Compressor Troubleshooting
  • 6.3 Water Pump
    • 6.3.1 Pump Speed Adjustment
    • 6.3.2 Dismantling of Valves
    • 6.3.3 Assembling of Valves
    • 6.3.4 Dismantling the Pumping Section
    • 6.3.5 Pump Assembly
    • 6.3.6 Removing Sleeves and Seals
    • 6.3.7 Installing Sleeves and Seals
    • 6.3.8 Servicing the Crankcase
    • 6.3.9 Pump Installation
  • 6.4 Grease Injection
    • 6.4.1 To Fill Reservoir
    • 6.4.2 To Prime System
    • 6.4.3 Operation
    • 6.4.4 Adjusting Flow Rate
      • 6.4.4.1 Setting for a 4” Hammer
      • 6.4.4.2 Setting for a 6” Hammer
    • 6.4.5 PanelView Settings for QXR
  • 6.5 Fire Suppression System (Optional)
    • In Case of Fire
    • 6.5.1 System Description
    • 6.5.2 How the System Operates
    • 6.5.3 Recharge Procedures
    • 6.5.4 Inspection and Maintenance
      • 6.5.4.1 A-101 Fire Suppression
    • 6.5.5 Location of Manual Releases and Hand-held Extinguishers
      • Section A –Operators Cab
      • Section B – Right Rear of Unit
      • Section C – Left Front of Unit
      • Section D – Cab Boom
  • 7.1 Electrical Circuits
  • 7.2 Electrical Components
  • 7.3 On/Off Valve Activation
  • 7.4 Types of Valves
  • 7.5 Testing of Valve Solenoids
  • 7.6 Testing On/Off Valves
  • 7.7 Proportional Valves
  • 7.8 Fault Monitoring System
    • 7.8.1 Testing Proportional Valves
  • 7.9 Accra-Feed PLC System
    • 7.9.1 Accra-Feed Operation
    • 7.9.2 Accra-Feed Components
    • 7.9.3 PLC Operation
    • 7.9.4 Maintenance of PLC in Accra-Feed System
    • 7.9.5 Troubleshooting Guide
  • 7.10 Operator Interface PanelView 1000
    • 7.10.1 Maintenance of PanelView Terminal
    • 7.10.2 Troubleshooting PanelView Terminal
    • 7.10.3 Alarm Messages on the Terminal
  • 7.11 QXR Canbus Electrical System
    • 7.11.1 Components
    • 7.11.2 Canbus Components
      • 7.11.2.1 VMM 1210 Multiplexing Module
      • 7.11.2.2 Pocket Gateway Module (PGM)
    • 7.11.3 Operation
      • 7.11.3.1 Inputs and Arrangement
    • 7.11.4 VMM 1210 Hardware & Software
      • 7.11.4.1 Hardware
      • 7.11.4.2 Software
      • 7.11.4.3 PC Software Installation
    • 7.11.5 Functions
  • 8.0 Troubleshooting
  • 8.1 Troubleshooting the Tram Drive
    • Crawler Does Not Run but Tramming Motors Are Operating
    • Crawler Does Not Move and Tramming Motor Does Not Run
    • Crawler Does Not Tram Straight
  • 8.2 Troubleshooting the Hydraulic System
    • Pump Does Not Deliver Oil
    • Pump is Running Hot
    • Cavitation or Pump Noise
    • Insufficient Pressure
    • Slow Rotation at Top Drive
    • No Rotation at Top Drive Assembly
    • Slow or No Feed
    • Mast Does Not Rotate
    • Actuator Allows Mast to Move After Being Set
  • 8.3 Troubleshooting the Water Injection Pump
    • Discharge Pressure is Too Low
    • Cavitation Problems
    • No Water Discharge
    • Excessive Pump Noise
  • 8.4 Troubleshooting the Air Driven Oil Injection Pump
    • Air Motor Does Not Operate
    • Air Seepage from Air Exhaust While Pump is Not Working
    • Loss of Pressure, Volume, or Continuous Operation of Pump when Not in Normal Use
    • Excessive Amount of Air in Lubricant or Excessive Amount of Lubricant in Air
  • 8.5 Troubleshooting the Air Driven Grease Injection
    • Air Motor Does Not Operate
    • Grease Is Not Delivered to the Drilling Air Line
  • 8.6 Troubleshooting the Air Delivery System
    • Air Pressure Builds too Slowly
    • Compressor Shuts Down with Air Demand Present
    • Compressor Does Not Build-Up Full Discharge Pressure
    • Compressor Unloading with an Excessive Pressure Build-Up
    • Excessive Compressor Fluid Consumption
    • Compressor Overheating
  • 8.7 Troubleshooting the Hammer
    • Tool Does Not Start
    • Tool Stops Operating
    • Operating Pressure is Lower than Specifications
    • Low Penetration Rate
    • Galling of Internal Parts
  • 8.8 Troubleshooting the Drill Bit
    • Abrasive Wear
    • Loss of Carbides in Bit
    • Bit Breakage and Carbide Failure
    • Carbide Breakage
    • Uneven Wear Conditions
  • 8.9 Troubleshooting Depth Laser
    • Laser appears not working. No red light is coming out of aperture.
    • Laser appears working; red light is pulsing in even intervals, no output signal.
    • Laser appears working, red light is pulsing but in un-even intervals
    • General notes:

Cubex


Latest Product

0
    0
    Your Cart
    Your cart is emptyReturn to Shop