$ 0
0
$ 0
0

Bobcat 231 Excavator Service Manual (SN 508911001-508911999)

Format: PDF (Printable Document)

File Language: English

File Pages: 334

File Size: 11.19 MB (Speed Download Link)

Brand: Bobcat

Model: 231 Excavator

Book No: 6720496

Serial No: SN 508911001-508911999

Type of Document: Service Manual

Categories: ,

$ 45

Share:

Bobcat 231 Excavator Service Manual (SN 508911001-508911999)

A Bobcat 231 is a small compact excavator that spends its life trenching, loading, and doing tight-access utility or landscape work. The service manual is what you grab when the machine is down, the dash light is on, or you're into a component deeper than basic filters and fluids. Around my shop, this is the book we use to keep turnaround tight, hit 50/250/500-hour services on schedule, and get a dead unit back on rent without guesswork.

What this manual helps you do

  • Trace and diagnose hydraulic issues in the boom, arm, and bucket circuits, including weak or erratic functions
  • Check and set hydraulic and hydrostatic system pressures using the correct test ports and sequences
  • Follow step-by-step teardown and reassembly on the upperstructure, swing system, and travel motors
  • Diagnose electrical problems using wiring diagrams, connector callouts, and test procedures with a meter
  • Replace and adjust engine, cooling, and fuel system components with the right sequences and torque references

Who this is for

This manual is for anyone maintaining or repairing a Bobcat 231 excavator in the serial range 508911001 through 508911999: small contractors, owner-operators, rental fleets, and shop or field mechanics. If you just need operating controls, safety info, or daily checks, you want the operator's handbook instead, not this service manual.

FAQ

Q: Is this a searchable PDF, and can I read the wiring diagrams clearly?

A: These manuals are usually delivered as searchable PDFs, and the wiring diagrams are normally high enough resolution to zoom and print for shop use.

Q: How do I know if it fits my exact machine?

A: Check your 231's serial number; if it falls between 508911001 and 508911999, this is the correct manual. If it doesn't, you need a different book.

Q: Is this the right document if I'm doing major repairs?

A: Yes, this is the workshop-level service manual intended for full diagnostics, teardown, and reassembly, not just routine greasing and filter changes.

If your 231's serial number is in that range and you're doing your own repairs or running a shop, this is the right manual. If the serial number doesn't match, skip it.

📘 Show Index

Table of Contents:

  • MAINTENANCE SAFETY
  • CONTENTS
    • FOREWORD
    • SAFETY INSTRUCTIONS
    • SERIAL NUMBER LOCATIONS
    • HYDRAULIC EXCAVATOR SERIAL NUMBER
    • ENGINE SERIAL NUMBER
    • DELIVERY REPORT
    • HYDRAULIC EXCAVATOR IDENTIFICATION
  • PREVENTIVE MAINTENANCE
    • SERVICE SCHEDULE
    • ENGINE COVER
      • Procedure
    • AIR CLEANER
      • Replacing the Filter Element
    • FUEL SYSTEM
      • Fuel Specifications
      • Fuel System Service
    • ENGINE LUBRICATION SYSTEM
      • Checking the Engine Oil
      • Engine oil and Filter Replacement
    • COOLING SYSTEM
      • Coolant Level
      • Coolant Replacement
    • HYDRAULIC SYSTEM
      • Checking and Adding Fluid
      • Replacement of the Hydraulic Filters
      • Hydraulic Reservoir
    • ELECTRICAL SYSTEM
      • Using A Booster Battery (Jump Starting)
    • LUBRICATION OF THE HYDRAULIC EXCAVATOR
    • SWING MOTOR GEAR REDUCTION
    • FINAL DRIVE CASE
      • Checking Oil Level
      • Draining Final Drive Case
  • HYDRAULIC SECTION
    • HYDRAULIC SCHEMATICS
    • HYDRAULIC SERVICE INFORMATION
      • Description
      • Checking the Main Relief Valves
      • Checking the Locking Lever Relief Valve
      • With Locking Lever Down (Going Over Relief) Strokethe Bucket (Curl)
      • Checking the Auxiliary Relief Valve
    • HYDRAULIC PUMP
      • Removal and Installation
      • Disassembly
      • Assembly
    • HYDRAULIC CONTROL VALVE
      • Removal and Installation
    • CONTROL VALVE
      • Disassembly and Assembly
      • Disassembly and Assembly
        • Blade, Boom Swing, Bucket, L.H. Travel, Auxiliaryand House Swing Valve Sections
        • R.H. Travel Valve Section
        • Hydraulically Activated Valve Sections
        • Main Relief Valves
        • Work Port Relief Valves
      • Relief Valve Pressure Setting Adjustment
        • MAIN RELIEF VALVE
        • Work Port Relief Valves
    • SOLENOID VALVE
      • Removal and Installation
      • Parts Identification
      • Disassembly
      • Assembly
    • OIL COOLER
      • Removal and Installation
    • HYDRAULIC RESERVOIR
      • Removal and Installation
    • SUCTION FILTER
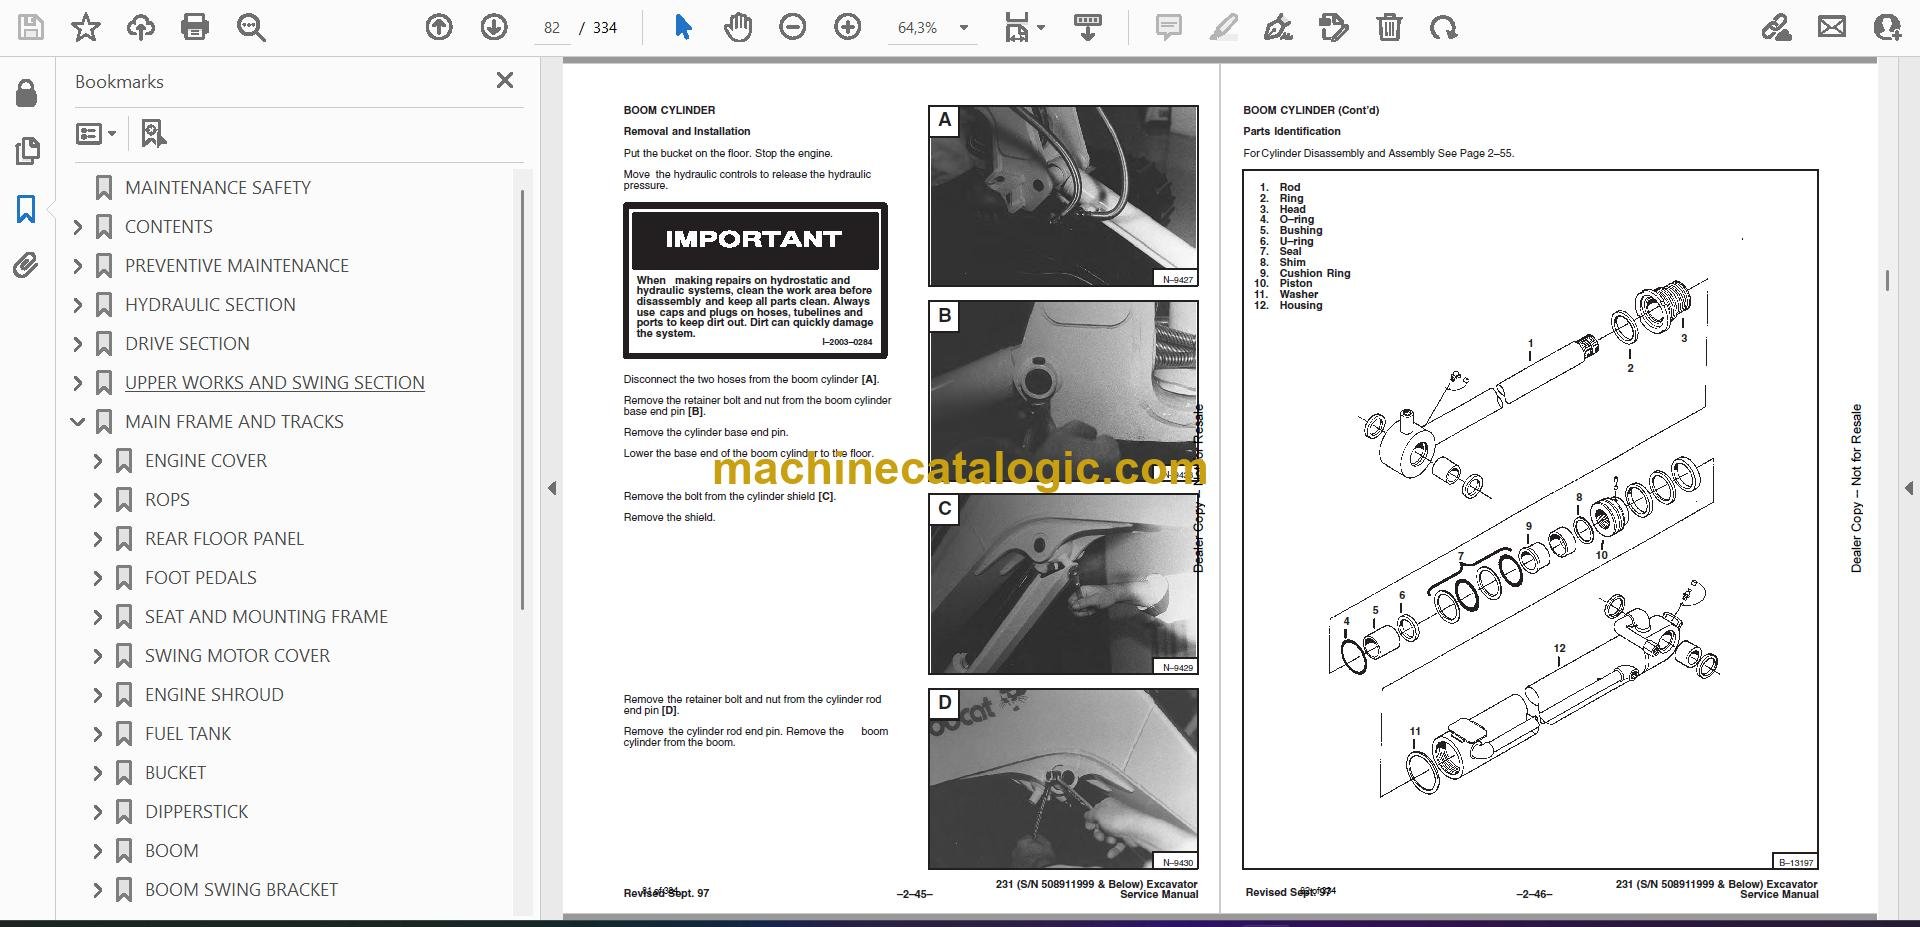
    • BOOM CYLINDER
      • Removal and Installation
      • Parts Identification
    • DIPPERSTICK CYLINDER
      • Removal and Installation
      • Parts Identification
    • BUCKET CYLINDER
      • Removal and Installation
      • Parts Identification
    • BLADE CYLINDER
      • Removal and Installation
      • Parts Identification
    • BOOM SWING CYLINDER
      • Removal and Installation
      • Parts Identification
    • HYDRAULIC CYLINDER
      • Disassembly
      • Assembly
    • SWING CYLINDER LOCK VALVE
      • Parts Identification
      • Disassembly
      • Assembly
    • HYDRAULIC FILTER
      • Removal and Installation
    • AUXILIARY ROUTING
    • JOYSTICK CONTROL CHANGE
  • DRIVE SECTION
    • HYDRAULIC CONTROL LEVERS
      • Swing/Dipperstick Control Lever
    • JOYSTICK
      • Disassembly and Assembly
      • Parts Identification
      • Boom/Bucket Control Lever
    • THROTTLE LEVER
      • Removal and Installation
    • BLADE CONTROL LEVER
      • Removal and Installation
    • CONTROL LOCKING ARM
      • Removal and Installation
    • GAS CYLINDER
      • Removal and Installation
    • LOCKING LEVER VALVE
      • Removal and Installation
    • LOCKING LEVER CABLE
      • Removal and Installation
    • CONTROL PANEL BASE
      • Removal and Installation
    • FOOT PEDAL AND STEERING LEVER LINKAGE
      • Removal and Installation
    • STEERING LEVERS
      • Removal and Installation
    • FINAL DRIVE
      • Removal and Installation
    • TRAVEL MOTOR
      • Disassembly
      • Assembly
  • UPPER WORKS AND SWING SECTION
    • SWING MOTOR
      • Removal and Installation
    • BRAKE VALVE
      • Disassembly
      • Assembly
    • SWING MOTOR
      • Disassembly
      • Assembly
    • REDUCTION GEAR
      • Disassembly
      • Assembly
    • RELIEF VALVE
      • Disassembly
      • Assembly
      • Adjustment
    • UPPER WORKS AND SWING CIRCLE GEAR
      • Removal and Installation
      • Reinstalling the Swing Bearing
    • CENTER SWIVEL JOINT
      • Removal and Installation (Through Upper Access Removal)
  • MAIN FRAME AND TRACKS
    • ENGINE COVER
      • Removal and Installation
    • ROPS
      • Removal and Installation
      • Front Window Removal & Installation
      • Side Window Removal & Installation
    • REAR FLOOR PANEL
      • Removal and Installation
    • FOOT PEDALS
      • Removal and Installation
    • SEAT AND MOUNTING FRAME
      • Removal and Installation
    • SWING MOTOR COVER
      • Removal and Installation
    • ENGINE SHROUD
      • Removal and Installation
    • FUEL TANK
      • Removal and Installation
    • BUCKET
      • Removal and Installation
    • DIPPERSTICK
      • Removal and Installation
    • BOOM
      • Removal and Installation
    • BOOM SWING BRACKET
      • Removal and Installation
    • BLADE
      • Removal and Installation
    • TRACK TENSION
      • Adjustment
      • Removal and Installation
    • TRACK FRAME
      • Disassembly and Assembly
    • TRACK IDLER
      • Parts Identification
      • Disassembly
      • Assembly
    • TRACK FRAME
    • TOOL BOX
      • Removal and Installation
    • TRACK ROLLER
      • Parts Identification
      • Disassembly
      • Assembly
    • OVERHEAD CONSOLE
      • Removal and Installation
  • ELECTRICAL SYSTEM
    • TROUBLESHOOTING
      • Chart
    • ELECTRICAL SYSTEM
      • Description
      • Fuses
      • Electrical System Service
    • BATTERY
      • Checking the Battery
      • Removal and Installation
    • ALTERNATOR
      • Belt Adjustment
      • Removal and Installation
    • FUEL SHUT–DOWN RELAY
      • Removal and Installation
    • STARTER
      • Removal and Installation
      • Disassembly and Assembly
    • FUEL LEVEL SENDER
      • Removal and Installation
      • Checking
    • DISPLAY MODULE
      • Removal and Installation
    • INSTRUMENT PANEL
      • Removal and Installation
    • DISPLAY MODULE
      • Testing and Trouble Shooting
      • Engine Temperature Circuit Test (with display module installed in the excavator.)
      • Testing the Display Panel
      • Fuel Level Circuit Test (with display module installed in the excavator)
      • Testing the Display Panel
      • Fuel Level Sender
      • Engine Oil Pressure Circuit Test (with display module installed in the excavator)
      • Testing the Display Module
      • Battery Charge Circuit Test (with display module installed in the excavator.)
      • Glow Plug Circuit Test (with display module installed in the excavator)
      • Engine Temperature Circuit Test (with display module removed from the excavator.)
      • Fuel Level Circuit Test (with display module removed from the excavator.)
      • Engine Oil Pressure Circuit Test (with display module removed from the excavator.)
      • Battery Charge Circuit Test (with display module removed from the excavator.)
    • VOLTAGE REGULATOR/GLOW PLUG TIMER
      • Removal and Installation
    • DIVERTER VALVE SWITCH
      • Removal and Installation
    • DOME LIGHT
      • Removal and Installation
    • WINDSHIELD WIPER
      • Removal and Installation
    • FRONT LIGHTS
      • Removal and Installation
      • Lamp Replacement
    • CONSOLE SWITCHES
      • Removal and Installation
    • WIPER MOTOR AND SWITCH
  • ENGINE SERVICE
    • TROUBLESHOOTING
    • VALVE CLEARANCE
      • Adjustment
    • ENGINE COMPRESSION
      • Checking
    • FUEL FILTER
      • Final Filter
      • In–Line Filter
    • ELECTRIC FUEL PUMP
      • Removal and Installation
    • FUEL SHUT–DOWN SOLENOID
      • Removal and Installation
    • FUEL INJECTION PUMP
      • Checking the Injection Pump
      • Removal and Installation
      • Timing the Injection Pump
    • FUEL INJECTOR NOZZLES
      • Removal and Installation
      • Checking the Injector Nozzle
    • GLOW PLUGS
      • Removal and Installation
      • Checking the Glow Plug
    • RADIATOR
      • Removal and Installation
    • AIR CLEANER
      • Removal an Installation
    • MUFFLER
      • Removal and Installation
    • HEATER
      • Removal and Installation
    • ENGINE
      • Removal and Installation
    • ENGINE FLYWHEEL
      • Removal and Installation
      • Flywheel Ring Gear
    • CYLINDER HEAD
      • Removal
      • Disassembly
      • Servicing the Cylinder Head
      • Assembly
      • Installation
    • ENGINE REPAIR
      • Removing the Timing Gear, Camshaft and Oil Pump
      • Removing the Pistons and Crankshaft
      • Servicing the Timing Gear and Camshaft
      • Servicing the Connecting Rods and Pistons
      • Servicing the Crankshaft
      • Servicing the Cylinder Liners
      • Lubrication System
      • Oil Pump Service
      • Water Pump Service
    • ENGINE ASSEMBLY
      • Installing the Crankshaft
      • Installing the Pistons
      • Installing the Camshaft and Timing Gears
      • Installing the Gearcase
  • TECHNICAL DATA
    • EXCAVATOR SPECIFICATIONS
      • Machine Dimensions
      • PERFORMANCE & OPERATION
      • Engine
      • Hydraulic System
      • Swing System
      • Hydraulic Cylinders
      • DRIVE SYSTEM
      • BRAKES
      • UNDERCARRIAGE
      • TRACK SHOES
      • CAPACITIES
      • MISCELLANEOUS
    • ENGINE SPECIFICATIONS
      • Fuel Injection Nozzles
      • Fuel Injection Pump
      • Cylinder Head
      • Valves
      • Valve Springs
      • Rocker Arms
      • Camshaft
      • Cylinder
      • Piston Rings
      • Pistons
      • Crankshaft
      • Oil Pump
      • Engine Oil Specifications
      • ENGINE BOLT TORQUE
      • Re–Grinding The Crankshaft
    • FUEL, COOLANT AND LUBRICANTS
    • OIL SPECIFICATIONS
      • Description
  • SERVICE MANUAL REVISON
    • 231-1
    • 231-2
    • 231-3
    • 231-4
    • 231-5
    • 231-6
    • 231-7
    • 231-8
    • 231-9
    • 231-10

Bobcat Software

Bobcat PDF Manuals

Related Manuals

0
    0
    Your Cart
    Your cart is emptyReturn to Shop