$ 0
0
$ 0
0

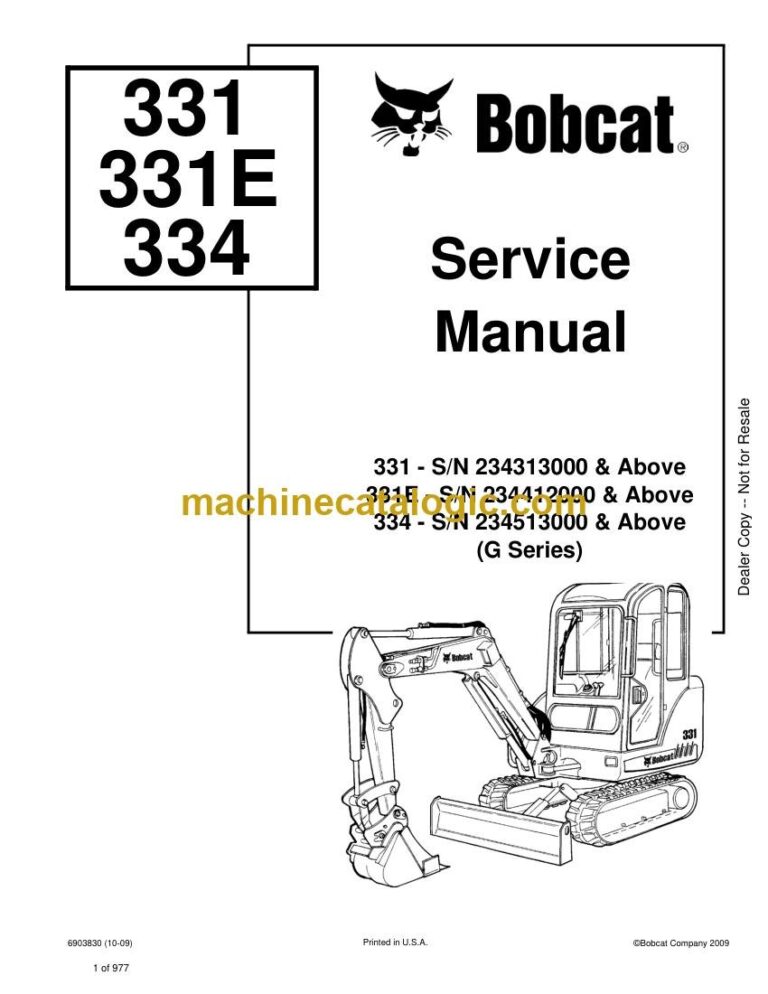
Bobcat 331 Excavator Service Manual (SN 234412000-234499999)

Format: PDF (Printable Document)

File Language: English

File Pages: 977

File Size: 26.06 MB (Speed Download Link)

Brand: Bobcat

Model: 331 Excavator

Book No: 6903830

Serial No: SN 234412000-234499999

Type of Document: Service Manual

Categories: ,

$ 45

Share:

Bobcat 331 Excavator Service Manual (SN 234412000-234499999)

The Bobcat 331 is a small excavator you'll see trenching, loading trucks, digging footings, and cleaning up tight spots where a big machine won't fit. The service manual is what guys like me grab when the machine is down, the warranty's long gone, and we need real specs and step-by-step teardown info. If you're chasing a hydraulic issue, doing engine work, or sorting out electrical gremlins, this is the book that keeps guesswork and downtime to a minimum.

What this manual helps you do

  • Diagnose hydraulic problems, check pressures, and trace issues in the main and pilot circuits
  • Follow teardown and reassembly steps on pumps, drive motors, cylinders, and control valves
  • Trace and troubleshoot wiring using readable schematics for the 331 in this serial range
  • Set and verify adjustments on controls, tracks, swing, and attachment functions
  • Replace major components and confirm torque specs and test procedures after repair

Who this is for

This is for a small contractor, owner-operator, field tech, or shop mechanic who actually turns wrenches and wants to fix a 331 instead of hauling it to the dealer. If you only need basic controls, safety info, and daily checks, you want the operator's handbook, not this manual.

FAQ

Q: Is this a searchable PDF, and can you read the wiring diagrams?

A: Yes, service manuals like this are usually supplied as a searchable PDF, and the wiring diagrams are clear enough to zoom in and follow circuits.

Q: My 331 serial number is between 234412000 and 234499999. Is this the right one?

A: Yes, this manual is built for Bobcat 331 excavators in that exact serial number range.

Q: I'm just doing routine maintenance, is this overkill?

A: For simple fluids and filters, it's more than you need, but if you ever plan to diagnose or rebuild anything, this is the right document.

Bottom line: If your 331 falls in SN 234412000-234499999 and you plan to actually repair it, this is the right service manual. If you only want operating tips, skip it.

📘 Show Index

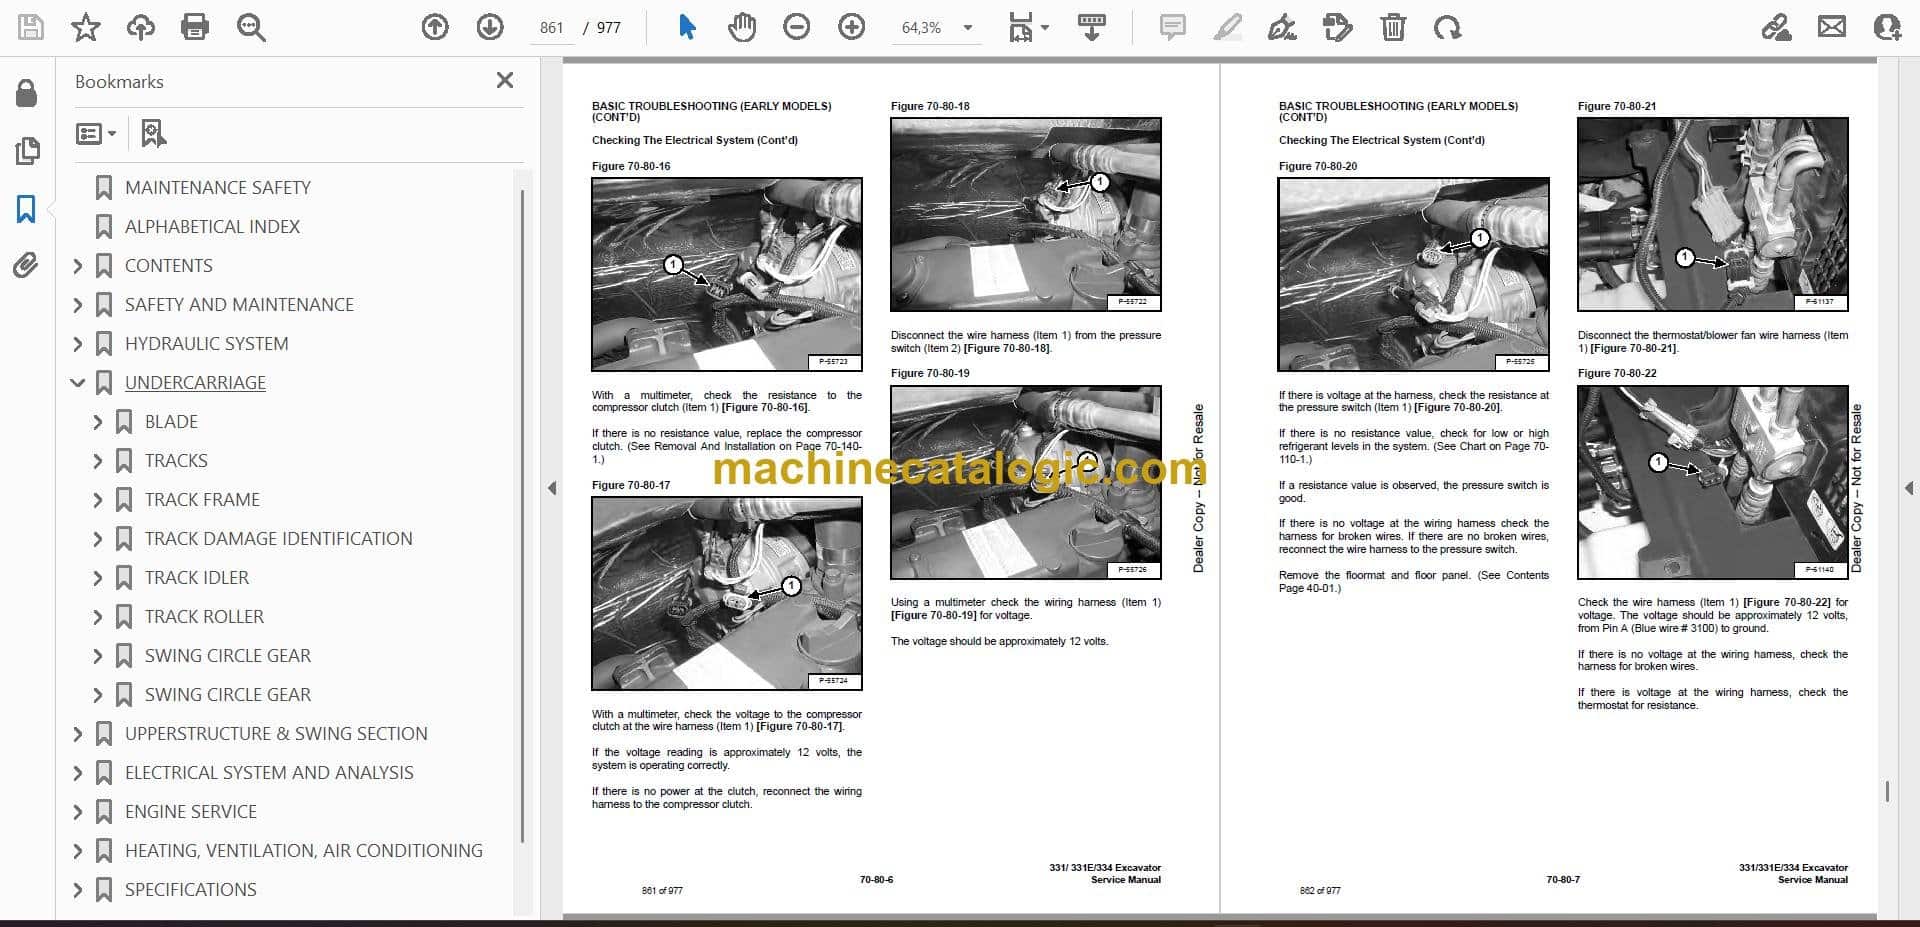
Table of Contents:

  • MAINTENANCE SAFETY
  • ALPHABETICAL INDEX
  • CONTENTS
    • FOREWORD
    • SAFETY INSTRUCTIONS
    • FIRE PREVENTION
      • Maintenance
      • Operation
      • Electrical
      • Hydraulic System
      • Fueling
      • Starting
      • Spark Arrestor Exhaust System
      • Welding And Grinding
      • Fire Extinguishers
    • SERIAL NUMBER LOCATIONS
      • Excavator Serial Number
      • Engine Serial Number
    • DELIVERY REPORT
  • SAFETY AND MAINTENANCE
    • LIFTING AND BLOCKING THE EXCAVATOR
      • Procedure
    • UPPERSTRUCTURE SLEW LOCK
      • Operation (Early Models)
      • Operation (Later Models)
    • LIFTING THE EXCAVATOR
      • Procedure
    • OPERATOR CAB (ROPS/TOPS)
      • Emergency Exit
      • Cab Door
      • Front Window
      • Right Side Windows
    • TRANSPORTING THE EXCAVATOR
    • TAILGATE
      • Opening And Closing The Tailgate
      • Adjusting The Bumper
      • Adjusting The Latch
    • RIGHT SIDE COVER
      • Opening And Closing The Right Side Cover
    • SERVICE SCHEDULE
      • Chart
    • AIR CLEANER SERVICE
      • Daily Check
      • Replacing The Filters
    • HEATER AIR FILTER (WITH CAB OPTION ONLY)
      • Removal And Installation
    • ENGINE COOLING SYSTEM
      • Replacing The Coolant
      • Checking Coolant Level
      • Cleaning The Cooling System
    • FUEL SYSTEM
      • Fuel Specifications
      • Filling The Fuel Tank
      • Removing Water From The Fuel Filter
      • Draining The Fuel Tank
      • Fuel Filter
      • Removing Air From The Fuel System
    • ENGINE LUBRICATION SYSTEM
      • Checking Engine Oil
      • Oil Chart
      • Replacing Oil And Filter
    • HYDRAULIC SYSTEM
      • Checking And Adding Hydraulic Fluid
      • Replacing The Hydraulic Fluid
      • Replacing The Hydraulic Filter
      • Replacing The Case Drain Filter
      • Diagnostic Couplers
    • LUBRICATION OF THE HYDRAULIC EXCAVATOR
      • Procedure
    • TRAVEL MOTOR
      • Checking Oil Level
      • Draining The Travel Motor
    • SPARK ARRESTOR MUFFLER
    • ENGINE ACCESSORY DRIVE BELT
      • Belt Tension
      • Belt Adjustment
    • SEAT BELT
      • Inspection And Maintenance
  • HYDRAULIC SYSTEM
    • HYDRAULIC / HYDROSTATIC SCHEMATIC
    • HYDRAULIC SYSTEM INFORMATION
      • Glossary Of Hydraulic/Hydrostatic Symbols For Excavators
      • Troubleshooting The Hydraulic Circuit
      • Troubleshooting The Cylinder Circuit
      • Troubleshooting The Swing (Upperstructure Slew) Circuit
      • Troubleshooting The Travel Circuit
    • BOOM CYLINDER
      • Testing
      • Removal And Installation
      • Parts Identification
      • Disassembly
      • Assembly
    • ARM CYLINDER
      • Testing
      • Removal And Installation
      • Parts Identification
      • Disassembly
      • Assembly
    • BOOM SWING CYLINDER
      • Testing
      • Removal And Installation
      • Parts Identification
      • Disassembly
      • Assembly
    • BUCKET CYLINDER
      • Testing
      • Removal And Installation (Standard And Long Arm)
      • Removal And Installation (Extendible Arm)
      • Parts Identification
      • Disassembly
      • Assembly
    • BLADE CYLINDER
      • Testing
      • Removal And Installation
      • Parts Identification
      • Disassembly
      • Assembly
    • EXTENDIBLE ARM CYLINDER
      • Removal And Installation
      • Parts Identification
    • CLAMP CYLINDER
      • Testing
      • Removal And Installation
      • Parts Identification
      • Disassembly
      • Assembly
    • MAIN RELIEF VALVE
      • Testing And Adjusting The Main Relief Valve
    • PORT RELIEF VALVES
      • Testing And Adjusting Port Relief Valve Pressure
    • CROSSPORT RELIEF VALVES
      • Testing And Adjusting The Crossport Relief Valves
    • PRESSURE REDUCING VALVE
      • Testing And Adjusting The Pressure Reducing Valve
    • HYDRAULIC CONTROL VALVE (S/N 234313000 – 234316876, S/N 234412000 – 234413318, S/N 234513000 – 234515532)
      • Description
      • Removal And Installation
      • Parts Identification
    • HYDRAULIC CONTROL VALVE (S/N 234316877 & ABOVE, S/N 234413319 & ABOVE, S/N 234515533 & ABOVE)
      • Description
      • Removal And Installation
      • Parts Identification
      • Disassembly
      • Right Travel Valve Section Disassembly And Assembly
      • Left Travel Valve Section Disassembly And Assembly
      • Blade Valve Section Disassembly And Assembly
      • Slew Valve Section Disassembly And Assembly
      • Auxiliary Valve Section Disassembly And Assembly
      • Bucket Valve Section Disassembly And Assembly
      • Arm Valve Section Disassembly And Assembly
      • Boom Valve Section Disassembly And Assembly
      • Boom Swing Valve Section Disassembly And Assembly
      • Inlet Section Disassembly And Assembly
      • Assembly
    • HYDRAULIC PUMP
      • Description
      • Torque Adjustment
      • Testing The Piston Pump
      • Testing Auxiliary Hydraulic Flow
      • Removal And Installation
      • Coupler Removal And Installation
      • Parts Identification
      • Disassembly
      • Assembly
    • MANIFOLD ASSEMBLY/ ACCUMULATOR
      • Description
      • Removal And Installation
      • Parts Identification
      • Disassembly And Assembly
    • TRAVEL MOTOR
      • Removal And Installation
      • Parts Identification
      • Disassembly
      • Assembly
    • SWIVEL JOINT
      • Description
      • Removal And Installation
      • Parts Identification
      • Disassembly
      • Assembly
    • SWING MOTOR
      • Removal And Installation
      • Parts Identification
      • Disassembly
      • Assembly
    • SWING MOTOR DRIVE CARRIER
      • Removal And Installation
      • Parts Identification
      • Disassembly
      • Assembly
    • CONTROL PATTERN SELECTOR VALVE
      • Removal And Installation
      • Parts Identification
      • Disassembly
      • Assembly
    • RIGHT CONTROL LEVER (JOYSTICK)
      • Testing
      • Handle Removal And Installation
      • Joystick Assembly Removal And Installation
      • Parts Identification
      • Disassembly
      • Assembly
    • LEFT CONTROL LEVER (JOYSTICK)
      • Testing
      • Handle Removal And Installation
      • Joystick Assembly Removal And Installation
      • Parts Identification
      • Disassembly
      • Assembly
    • HYDRAULIC FILTER MOUNT
      • Removal And Installation
    • HYDRAULIC RESERVOIR
      • Removal And Installation
    • OIL COOLER
      • Removal And Installation
    • DIRECT TO TANK VALVE
      • Removal And Installation
      • Parts Identification
      • Disassembly And Assembly
    • CASE DRAIN FILTER
      • Removal And Installation
    • BOOM SWING LOCK VALVE
      • Removal And Installation
      • Parts Identification
      • Disassembly
      • Assembly
    • TRAVEL CONTROL VALVE
      • Removal and Installation
      • Parts Identification
      • Disassembly And Assembly
    • HYDRAULIC X-CHANGE VALVE
      • Removal And Installation
      • Parts Identification
      • Disassembly
      • Assembly
  • UNDERCARRIAGE
    • BLADE
      • Removal And Installation
    • TRACKS
      • Track Lug Height
      • Adjustment
      • Rubber Track Removal And Installation
      • Steel Track Removal And Installation
    • TRACK FRAME
      • Disassembly And Assembly
      • Recoil Spring Cylinder (Without Replaceable Shaft)
      • Recoil Spring Cylinder Parts Identification (With Replaceable Shaft)
      • Recoil Spring Cylinder (With Replaceable Shaft)
    • TRACK DAMAGE IDENTIFICATION
      • Cutting Of Steel Cords
      • Abrasion Of Embedded Metals
      • Separation Of Embedded Metals
      • Separation Of Embedded Metals Due To Corrosion
      • Cuts On The Lug Side Rubber
      • Cracks On The Lug Side Rubber Due To Fatigue
      • Lug Abrasion
      • Cracks And Cuts On The Lug Side Rubber
      • Abrasion Of The Track Roller Side
      • Cuts On The Edges Of Track Roller Side
    • TRACK IDLER
      • Parts Identification
      • Disassembly
      • Assembly
    • TRACK ROLLER
      • Parts Identification
      • Disassembly
      • Assembly
    • SWING CIRCLE GEAR
      • Swing Bearing Removal
    • SWING CIRCLE GEAR
      • Swing Bearing Installation
  • UPPERSTRUCTURE & SWING SECTION
    • UPPERSTRUCTURE
      • Removal
      • Installation
    • ROPS CANOPY
      • Removal And Installation
    • CAB
      • Removal And Installation
      • Door Removal And Installation
      • Front Window Removal And Installation
      • Right Side Rear Sliding Window Removal And Installation
      • Right Side Front Sliding Window Removal And Installation
      • Right Side Front And Rear Sliding Window Weather Strip Removal And Installation
      • Right Side Front And Rear Sliding Window Wiper Strip Removal And Installation
      • Glass Removal
      • Glass Installation
    • SEAT AND SEAT MOUNT
      • Removal And Installation
    • RIGHT CONSOLE
      • Console Cover Removal And Installation
      • Console Base Removal And Installation
    • LEFT CONSOLE
      • Lower Console Cover Removal And Installation
      • Upper Console Cover Removal And Installation
      • Compression Spring Removal And Installation
      • Compression Spring Disassembly And Assembly
      • Lock Lever Removal And Installation
      • Console Removal And Installation
      • Disassembly And Assembly
      • Console Base Removal And Installation
    • ENGINE SPEED CONTROL
      • Removal And Installation
      • Adjustment (Later Models)
    • BLADE CONTROL
      • Lever Removal And Installation
      • Linkage Removal And Installation
      • Linkage Bar Removal And Installation
      • Lower Linkage Removal And Installation
    • RIGHT PEDAL AND LINKAGE
      • Pedal Removal And Installation
      • Pedal Disassembly And Assembly
      • Linkage Removal And Installation
    • TRAVEL CONTROLS
      • Removal And Installation
      • Disassembly And Assembly
      • Adjustment
      • Control Linkage Removal And Installation
    • FLOOR MAT AND FLOOR PLATE
      • Removal And Installation (Canopy Equipped Excavators)
      • Removal And Installation (Cab Equipped Excavators)
    • FUEL TANK
      • Removal And Installation
    • HORN
      • Removal And Installation (Early Models)
      • Removal And Installation (Later Models)
    • SWING FRAME
      • Removal And Installation
      • Boom Swing Frame Hose Routing
      • Bushing Removal
      • Bushing Installation
    • BOOM
      • Removal And Installation
    • STANDARD AND LONG ARM
      • Removal And Installation
      • Arm To Boom Bushing Removal And Installation
      • Arm To Bucket And Bucket Link Bushing Removal And Installation (Early Models)
      • Arm To Bucket And Bucket Link Bushing Removal And Installation (Later Models)
    • EXTENDIBLE ARM
      • Removal And Installation
      • Disassembly And Assembly
    • BUCKET
      • Bucket Teeth Removal And Installation
      • Bucket Side Cutting Edge Removal And Installation
    • CLAMP
      • Removal And Installation
    • TAILGATE
      • Removal And Installation
      • Latch Removal And Installation
    • X-CHANGE™
      • Removal And Installation
      • Disassembly
      • Assembly
      • Check Proper Latch Engagement
    • X-CHANGE (HYDRAULIC)
      • Removal And Installation
      • Parts Identification
      • Disassembly
      • Assembly
    • UPPERSTRUCTURE SLEW LOCK
      • Removal And Installation (Early Models)
      • Removal And Installation (Later Models)
      • Disassembly And Assembly (Later Models)
    • RIGHT SIDE COVER
      • Removal And Installation
  • ELECTRICAL SYSTEM AND ANALYSIS
    • ELECTRICAL SCHEMATICS
    • ELECTRICAL SYSTEM INFORMATION
      • Troubleshooting Chart
      • Description
      • Fuse And Relay Location
    • BATTERY
      • Servicing
      • Removal And Installation
      • Using A Booster Battery (Jump Starting)
    • ALTERNATOR
      • Engine Accessory Drive Belt
      • Removal And Installation
      • Alternator Identification
      • Charging System Check
      • Alternator Voltage Test
      • Low Voltage Test
      • High Voltage Test
      • Rectifier Continuity (Diode) Test
      • Alternator Regulator Test
      • Parts Identification
      • Disassembly
      • Stator Continuity Test
      • Stator Ground Test
      • Rotor Continuity Test
      • Rotor Ground Test
      • Assembly
    • STARTER
      • Removal And Installation
      • Parts Identification
      • Disassembly
      • Inspection And Repair
      • Assembly
    • LIGHTS
      • Removal And Installation
      • Boom Light Removal And Installation (Early Models)
      • Boom Light Disassembly And Assembly (Early Models)
      • Boom Light Removal And Installation (Later Models)
      • Boom Light Bulb Replacement (Later Models)
    • MAGNETIC LOCKOUT SENSOR
      • Removal And Installation
    • TWO SPEED SWITCH
      • Removal And Installation
    • FUEL LEVEL SENDER
      • Removal And Installation
      • Testing
    • DIAGNOSTICS SERVICE CODE
      • Number Codes List
    • DELUXE INSTRUMENT PANEL SETUP
      • Passwords
      • Password Entry (For Starting and Operating the Machine)
      • Changing The Owner Or Operator Password
      • Password Lockout Feature
      • Job Clock
      • RPM
  • ENGINE SERVICE
    • TROUBLESHOOTING
      • Chart
    • SPARK ARRESTOR MUFFLER
      • Removal And Installation
    • AIR CLEANER
      • Removal And Installation
    • RADIATOR
      • Removal And Installation
    • ENGINE COMPONENTS AND TESTING
      • Engine Compression Checking
      • Glow Plugs Removal And Installation
      • Checking The Glow Plug
      • Fuel Shut-off Solenoid Removal And Installation
      • Fuel Injection Pump Check
      • Fuel Injection Pump Removal And Installation
      • Fuel Injection Pump Timing
      • Fuel Injector Nozzles Removal And Installation
      • Fuel Injector Nozzle Check
      • Valve Clearance Adjustment
    • ENGINE
      • Removal And Installation
    • ENGINE FLYWHEEL (EARLY MODELS)
      • Flywheel Removal And Installation
      • Hydraulic Pump Coupler
      • Flywheel Ring Gear
    • ENGINE FLYWHEEL (LATER MODELS)
      • Flywheel Removal And Installation
      • Hydraulic Pump Coupler
      • Flywheel Ring Gear
    • RECONDITIONING THE ENGINE
      • Cylinder Head Removal And Installation
      • Cylinder Head Disassembly And Assembly
      • Cylinder Head Servicing
      • Cylinder Head Top Clearance
      • Valve Guide Checking
      • Reconditioning The Valve And Valve Seat
      • Valve Spring
      • Rocker Arm And Shaft Checking
      • Timing Gearcase Cover Removal And Installation
      • Idler Gear And Camshaft Removal And Installation
      • Camshaft Servicing
      • Idler Gear And Shaft Servicing
      • Timing Gears Checking Backlash
      • Fuel Camshaft Removal And Installation
      • Fuel Camshaft Governor
      • Crankshaft Gear Removal And Installation
      • Oil Pump Removal And Installation
      • Oil Pump Service
      • Checking Engine Oil Pressure
      • Valve Tappets
      • Piston And Connecting Rod Removal And Installation
      • Piston And Connecting Rod Servicing
      • Connecting Rod Alignment
      • Crankshaft And Bearings Removal And Installation
      • Crankshaft And Bearings Servicing
      • Cylinder Bore Checking
      • Water Pump Removal And Installation
      • Water Pump Disassembly And Assembly
      • Fan Removal And Installation
  • HEATING, VENTILATION, AIR CONDITIONING
    • HEATER COIL (EARLY MODELS)
      • Removal And Installation With A/C
      • Removal And Installation Without A/C
    • HEATER COIL (LATER MODELS)
      • Removal And Installation With A/C
      • Removal And Installation Without A/C
    • BLOWER FAN (EARLY MODELS)
      • Removal And Installation
      • Disassembly And Assembly
    • BLOWER FAN (LATER MODELS)
      • Removal And Installation
      • Disassembly And Assembly
      • Resistor Removal And Installation
    • HEATER VALVE (EARLY MODELS)
      • Removal And Installation
    • HEATER VALVE (LATER MODELS)
      • Removal And Installation
    • AIR CONDITIONING SYSTEM FLOW
      • Principals
      • Chart
    • COMPONENTS
      • Identification
    • SAFETY
      • Safety Equipment
    • REGULAR MAINTENANCE
      • Heater Air Filter
      • Engine Accessory Drive Belt Inspection
      • Cleaning The Condenser
    • BASIC TROUBLESHOOTING (EARLY MODELS)
      • Poor A/C Performance
      • Cleaning The A/C Evaporator Coil & Heater Coil
      • Engine Accessory Drive Belt Inspection
      • Checking The Electrical System
      • Engine Coolant By-Passing The Heater Valve
    • BASIC TROUBLESHOOTING (LATER MODELS)
      • Poor A/C Performance
      • Cleaning The A/C Evaporator Coil & Heater Coil
      • Engine Accessory Drive Belt Inspection
      • Checking The Electrical System
      • Engine Coolant By-Passing The Heater Valve
    • GENERAL AIR CONDITIONING SERVICE GUIDELINES
      • Compressor Oil
      • Compressor Oil Check
      • Component Replacement And Refrigeration Leaks
    • SYSTEM TROUBLESHOOTING CHART
      • Blower Motor Does Not Operate
      • Blower Motor Operates Normally, But Air Flow Is Insufficient
      • Insufficient Cooling Although Air Flow And Compressor Operation Are Normal
      • The Compressor Operates Improperly Or Not At All
      • Gauge Pressure Related Troubleshooting
    • TEMPERATURE/PRESSURE
      • Chart
    • AIR CONDITIONING SERVICE
      • Chart
    • SYSTEM CHARGING AND RECLAMATION
      • Reclamation Procedure
      • Charging Procedure With A Manifold Gauge Set
    • COMPRESSOR
      • Removal And Installation
      • Compressor Clutch Disassembly And Assembly
    • CONDENSER
      • Removal And Installation
    • RECEIVER/DRIER
      • Removal And Installation
    • PRESSURE RELIEF VALVE
      • Removal And Installation
    • PRESSURE SWITCH
      • Removal And Installation
    • EVAPORATOR/HEATER UNIT (EARLY MODELS)
      • Removal And Installation
      • Disassembly And Assembly
    • EVAPORATOR/HEATER UNIT (LATER MODELS)
      • Removal And Installation
      • Disassembly And Assembly
    • THERMOSTAT (EARLY MODELS)
      • Removal And Installation
    • THERMOSTAT (LATER MODELS)
      • Removal And Installation
    • EXPANSION VALVE (EARLY MODELS)
      • Removal And Installation
    • EVAPORATOR VALVE (LATER MODELS)
      • Removal And Installation
    • EVAPORATOR (EARLY MODELS)
      • Removal And Installation
    • EVAPORATOR (LATER MODELS)
      • Removal And Installation
  • SPECIFICATIONS
    • SPECIFICATIONS
      • 331 & 334 Excavator Machine Dimensions
      • 331E Excavator Machine Dimensions
      • Performance
      • Controls
      • Engine
      • Hydraulic System
      • Hydraulic Cylinders
      • Hydraulic Cycle Times
      • Drive System
      • Undercarriage
      • Track
      • Electrical
    • ENGINE SPECIFICATIONS
      • Fuel Injection Nozzles
      • Fuel Injection Pump
      • Cylinder Head
      • Valves
      • Valve Springs
      • Valve Timing
      • Rocker Arms
      • Camshaft
      • Tappet
      • Cylinders
      • Piston Rings
      • Pistons
      • Connecting Rods
      • Oil Pump
      • Crankshaft
      • Timing Gear
      • Thermostat
      • Engine Bolt Torque
      • Crankshaft Re-Grind Data
    • TORQUE SPECIFICATIONS
      • Torque For General SAE Bolts
      • Torque For General Metric Bolts
    • HYDRAULIC CONNECTION SPECIFICATIONS
      • O-Ring Face Seal Connection
      • Straight Thread O-Ring Fitting
      • Tubelines And Hoses
      • Flare Fitting
      • O-Ring Flare Fitting
      • Port Seal Fitting
    • HYDRAULIC FLUID SPECIFICATIONS
      • Specifications
    • FUEL, COOLANT AND LUBRICANTS
      • Chart
    • CONVERSIONS
      • Decimal And Millimeter Equivalents
      • U.S. To Metric Conversion
  • SERVICE MANUAL REVISION
    • Revision No: 331 / 331E / 334 – 1
    • Revision No: 331 / 331E / 334 – 2
    • Revision No: 331 / 331E / 334 – 3
    • Revision No: 331 / 331E / 334 – 4
    • Revision No: 331 / 331E / 334 – 5
    • Revision No: 331 / 331E / 334 – 6
    • Revision No: 331 / 331E / 334 – 7
    • Revision No: 331 / 331E / 334 – 8

Bobcat Software

Bobcat PDF Manuals

Related Manuals

0
    0
    Your Cart
    Your cart is emptyReturn to Shop