$ 0
0
$ 0
0

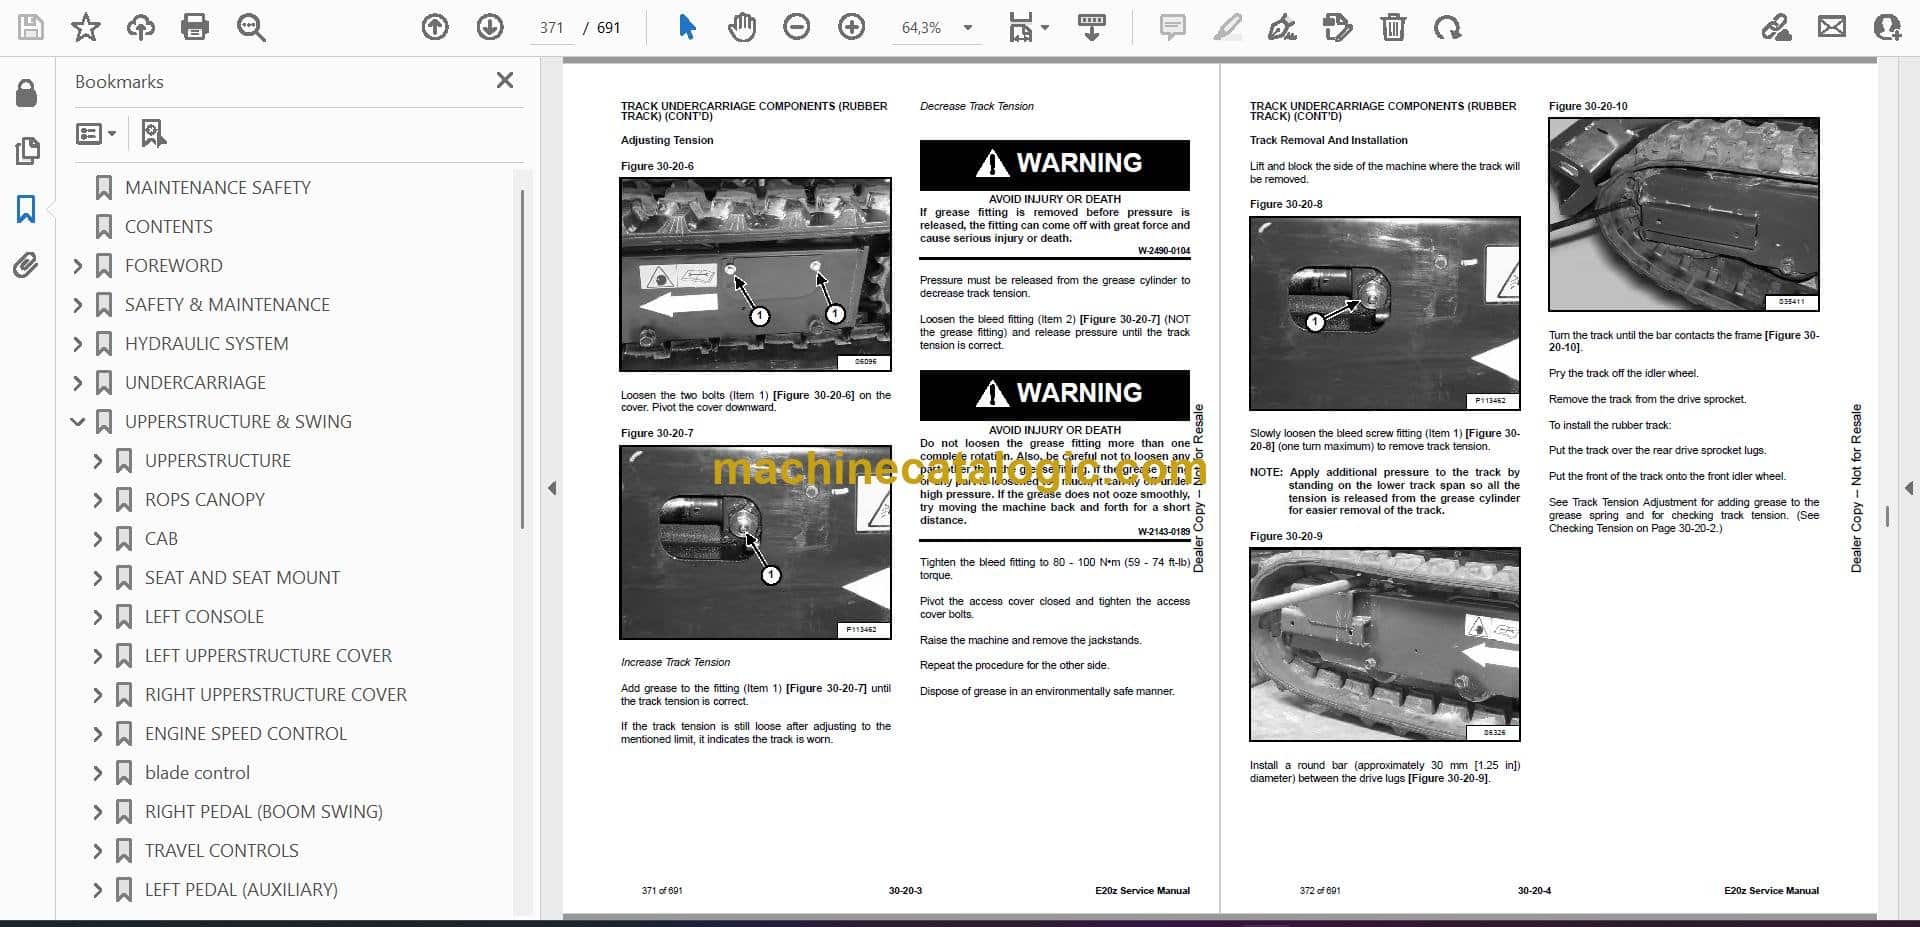
Bobcat E20z Excavator Service Manual (SN B4YC11001-B4YC99999)

Format: PDF (Printable Document)

File Language: English

File Pages: 691

File Size: 21.56 MB (Speed Download Link)

Brand: Bobcat

Model: E20z Excavator

Book No: 7416756

Serial No: SN B4YC11001-B4YC99999

Type of Document: Service Manual

Categories: ,

$ 45

Share:

Bobcat E20z Excavator Service Manual (SN B4YC11001-B4YC99999)

The E20z is a little compact excavator that spends its life trenching, digging footings, cleaning ditches, and lifting odds and ends around a place. When something quits swinging, starts creeping, or an electrical gremlin shows up on a wet Monday, this is the book you reach for. I keep this kind of manual handy when I've got a short weekend window, because guessing on hydraulics or tearing into a boom cylinder blind is how you burn that whole weekend.

What this manual helps you do

  • Diagnose hydraulic issues like weak boom, slow travel, or jerky controls using step-by-step checks
  • Trace and troubleshoot electrical faults with proper wiring diagrams and test procedures
  • Follow teardown and reassembly of components like cylinders, drive motors, and the swing motor with correct sequences and specs
  • Check and set things like travel straightness, control linkage, and track tension after repairs
  • Replace engine and hydraulic components with the right adjustment and verification steps so you only do the job once

Who this is for

This manual is for anyone working on a Bobcat E20z excavator with a serial number between B4YC11001 and B4YC99999: small contractors, farm and ranch owners, shop mechanics, and rental fleets. If you just want to learn the controls or daily grease points, you want the operator's handbook instead, not this service manual.

FAQ

Q: Is this a searchable PDF and are the wiring diagrams readable?

A: Yes, these manuals are normally searchable PDFs and the wiring diagrams are laid out so you can zoom in and follow circuits clearly.

Q: Will this cover my exact E20z?

A: If your serial number falls between B4YC11001 and B4YC99999, this is the right manual. If it doesn't, you need the book that matches your serial range.

Q: Is this the right thing if I'm just doing filters and oil changes?

A: You can do basic maintenance with it, but it's really meant for deeper repair and diagnostics. For simple service, the operator's manual is easier.

Bottom line: If you own or wrench on an E20z in that serial range and plan to do real repairs, this is the manual you want. If you just operate the machine, you can skip it.

📘 Show Index

Table of Contents:

  • MAINTENANCE SAFETY
  • CONTENTS
  • FOREWORD
    • FOREWORD
    • SAFETY INSTRUCTIONS
      • Avoid Silica Dust
    • FIRE PREVENTION
      • Maintenance
      • Operation
      • Electrical
      • Hydraulic System
      • Fueling
      • Starting
      • Spark Arrester Exhaust System
      • Welding And Grinding
      • Fire Extinguishers
    • SERIAL NUMBER LOCATIONS
      • Excavator Serial Number
      • Engine Serial Number
    • DELIVERY REPORT
    • EXCAVATOR IDENTIFICATION
  • SAFETY & MAINTENANCE
    • LIFTING AND BLOCKING THE EXCAVATOR
      • Procedure
    • LIFTING THE EXCAVATOR
      • Procedure
    • OPERATOR CAB (ROPS / TOPS)
      • Description
      • Cab Door
      • Front Window
      • Front Wiper
      • Window Washer Reservoir
      • Right Side Window
      • Heating And Ventilation Ducting
    • OPERATOR CANOPY (ROPS / TOPS)
      • Description
    • TRANSPORTING THE EXCAVATOR ON A TRAILER
      • Loading And Unloading
      • Fastening
    • TAILGATE
      • Opening And Closing
      • Adjusting The Latch
      • Opening And Closing Right Side Cover
    • SERVICE SCHEDULE
      • Maintenance Intervals
    • AIR CLEANER SERVICE
      • Daily Check
      • Replacing The Filter Elements
    • CAB FILTER
      • Cleaning And Maintenance
    • ENGINE COOLING SYSTEM
      • Cleaning
      • Checking Coolant Level
      • Removing And Replacing Coolant
    • FUEL SYSTEM
      • Fuel Specifications
      • Biodiesel Blend Fuel
      • Filling The Fuel Tank
      • Fuel Filter
      • Draining The Fuel Tank
      • Removing Air From The Fuel System
    • ENGINE LUBRICATION SYSTEM
      • Checking And Adding Engine Oil
      • Engine Oil Chart
      • Removing And Replacing Oil And Filter
    • HYDRAULIC SYSTEM
      • Checking And Adding Hydraulic Fluid
      • Hydraulic / Hydrostatic Fluid Chart
      • Removing And Replacing The Hydraulic Filter
      • Removing And Replacing The Hydraulic Fluid
    • LUBRICATING THE EXCAVATOR
      • Lubrication Locations
    • TRAVEL MOTOR
      • Checking And Adding Fluid
      • Removing And Replacing Fluid
    • SPARK ARRESTER MUFFLER
      • Cleaning Procedure
    • ALTERNATOR BELT
      • Belt Adjustment
      • Belt Replacement
    • SEAT BELT
      • Inspection And Maintenance
    • CONTROL CONSOLE LOCKOUTS
      • Inspection And Maintenance
    • PIVOT PINS
      • Inspection And Maintenance
    • TOWING THE EXCAVATOR
      • Procedure
    • EXCAVATOR STORAGE AND RETURN TO SERVICE
      • Storage
      • Return To Service
    • STOPPING THE ENGINE AND LEAVING THE EXCAVATOR
      • Procedure
    • EMERGENCY EXIT
      • Emergency Exit Locations
      • Rear Window
      • Front Window
    • REMOTE START TOOL KIT – MEL1563
      • Remote Start Tool – MEL1563
      • Service Tool Harness Communicator – MEL1566
    • REMOTE START TOOL (SERVICE TOOL) KIT – 7217666
      • Description
      • Remote Start Tool (Service Tool) – 7022042
      • Excavator Service Tool Harness – 6689747
      • Computer Service Tool Harness – 6689746
  • HYDRAULIC SYSTEM
    • HYDRAULIC / HYDROSTATIC SCHEMATICS
    • HYDRAULIC SYSTEM INFORMATION
      • Glossary Of Hydraulic / Hydrostatic Symbols
      • Troubleshooting The Hydraulic Circuit
      • Troubleshooting The Cylinder Circuit
      • Troubleshooting The Swing (Upperstructure Slew) Circuit
      • Troubleshooting The Travel Circuit
    • CYLINDER (BOOM)
      • Testing
      • Removal And Installation
      • Parts Identification
      • Disassembly
      • Assembly
    • CYLINDER (ARM)
      • Testing
      • Removal And Installation
      • Parts Identification
      • Disassembly
      • Assembly
    • CYLINDER (BOOM SWING)
      • Testing
      • Removal And Installation
      • Parts Identification
      • Disassembly
      • Assembly
    • CYLINDER (BUCKET)
      • Testing
      • Removal And Installation
      • Parts Identification
      • Disassembly
      • Assembly
    • CYLINDER (BLADE)
      • Testing
      • Removal And Installation
      • Parts Identification
      • Disassembly
      • Assembly
    • CYLINDER (TRACK FRAME EXPANSION)
      • Testing
      • Removal And Installation
      • Parts Identification
      • Disassembly
      • Assembly
    • VALVE (MAIN RELIEF)
      • Description
      • Test Conditions
      • Testing And Adjusting Main Relief At Manifold
      • Testing And Adjusting Main Relief at Hydraulic Control Valve
    • VALVE (PORT RELIEF)
      • Testing And Adjusting
    • VALVE (CROSS PORT RELIEF)
      • Testing
      • Removal And Installation
    • VALVE (PRESSURE REDUCING)
      • Testing And Adjusting
    • HYDRAULIC CONTROL VALVE
      • Description
      • Removal And Installation
      • Parts Identification
      • Disassembly
      • Assembly
      • Right And Left Travel Valve Section Disassembly And Assembly
      • Arm And Bucket Valve Section Disassembly And Assembly
      • Boom Swing And Auxiliary Valve Section Disassembly And Assembly
      • Boom Valve Section Disassembly And Assembly
      • Slew Valve Section Disassembly And Assembly
      • Blade Valve Section Disassembly And Assembly
    • HYDRAULIC PUMP
      • Description
      • Torque Adjustment
      • Testing The Piston Pump
      • Testing The Gear Pump
      • Testing Auxiliary Hydraulic Flow
      • Removal And Installation
      • Parts Identification
      • Disassembly And Assembly
      • Gear Pump Disassembly
      • Gear Pump Assembly
      • Piston Pump Disassembly
      • Piston Pump Assembly
    • MANIFOLD ASSEMBLY / ACCUMULATOR
      • Description
      • Removal And Installation
      • Parts Identification
    • ACCUMULATOR
      • Removal And Installation
    • TRAVEL MOTOR
      • Description
      • Removal And Installation
      • Parts Identification
      • Disassembly
      • Assembly
    • SWIVEL JOINT (RUBBER TRACK)
      • Description
      • Removal And Installation
      • Parts Identification
      • Disassembly
      • Assembly
    • SWIVEL JOINT (STEEL TRACK)
      • Description
      • Removal And Installation
      • Parts Identification
      • Disassembly
      • Assembly
    • SWING MOTOR
      • Description
      • Removal And Installation
      • Parts Identification
      • Disassembly And Assembly
      • Motor Disassembly
      • Motor Assembly
      • Brake Carrier Disassembly And Assembly
    • CONTROL LEVER (JOYSTICK) (RIGHT)
      • Testing
      • Handle Removal And Installation
      • Removal And Installation
      • Parts Identification
      • Disassembly
      • Assembly
    • CONTROL LEVER (JOYSTICK) (LEFT)
      • Testing
      • Handle Removal And Installation
      • Joystick Assembly Removal and Installation
      • Parts Identification
      • Disassembly
      • Assembly
    • HYDRAULIC FILTER MOUNT
      • Description
      • Removal And Installation
    • HYDRAULIC RESERVOIR
      • Description
      • Removal And Installation
    • OIL COOLER
      • Removal And Installation
    • BLADE / TRACK EXPANSION SOLENOID BLOCK
      • Description
      • Block Removal And Installation
      • Solenoid Removal And Installation
      • Parts Identification
      • Block Disassembly And Assembly
  • UNDERCARRIAGE
    • BLADE
      • Description
      • Extension Removal And Installation
      • Blade Removal And Installation
    • TRACK UNDERCARRIAGE COMPONENTS (RUBBER TRACK)
      • Description
      • Track Lug Height
      • Checking Tension
      • Adjusting Tension
      • Track Removal And Installation
      • Idler Removal And Installation
      • Track Tensioner Removal And Installation
      • Track Tensioner Disassembly & Assembly
      • Roller Removal And Installation
      • Sprocket Removal And Installation
      • Track Frame Guide Inspection
      • Removal And Installation Of Expandable Track Frame
    • TRACK UNDERCARRIAGE COMPONENTS (STEEL TRACK)
      • Description
      • Checking Tension
      • Adjusting Tension
      • Track Removal And Installation
      • Idler Removal And Installation
      • Track Tensioner Removal And Installation
      • Track Tensioner Disassembly & Assembly
      • Roller Removal And Installation
      • Sprocket Removal And Installation
      • Track Frame Guide Inspection
      • Removal And Installation Of Expandable Track Frame
    • TRACK MAINTENANCE
      • Track Damage Identification
    • SWING CIRCLE GEAR
      • Removal And Installation
  • UPPERSTRUCTURE & SWING
    • UPPERSTRUCTURE
      • Description
      • Removal
      • Installation
    • ROPS CANOPY
      • Removal And Installation
    • CAB
      • Removal And Installation
      • Door Removal And Installation
      • Front Window Removal And Installation
      • Right Side Sliding Window Removal And Installation
      • Glass Removal
      • Glass Installation
    • SEAT AND SEAT MOUNT
      • Removal And Installation
    • LEFT CONSOLE
      • Console Cover Removal And Installation
      • Gas Spring Removal And Installation
      • Lock Lever Removal And Installation
      • Console Removal And Installation
    • LEFT UPPERSTRUCTURE COVER
      • Removal And Installation
    • RIGHT UPPERSTRUCTURE COVER
      • Removal And Installation
    • ENGINE SPEED CONTROL
      • Removal And Installation
      • Cable Adjustment
    • blade control
      • Removal And Installation
    • RIGHT PEDAL (BOOM SWING)
      • Removal And Installation
      • Disassembly And Assembly
    • TRAVEL CONTROLS
      • Removal And Installation
      • Disassembly And Assembly
    • LEFT PEDAL (AUXILIARY)
      • Disassembly And Assembly
    • CONTROL LINKAGE ASSEMBLY
      • Removal And Installation
      • Disassembly And Assembly
    • FLOOR MAT AND FLOOR PANELS
      • Description
      • Removal And Installation
    • FUEL TANK
      • Removal And Installation
    • HORN
      • Removal And Installation
    • SWING FRAME
      • Description
      • Removal And Installation
      • Bushing Removal And Installation
      • Swing Frame Bushing Removal
      • Swing Frame Bushing Installation
    • BOOM
      • Description
      • Removal And Installation
      • Boom Bushing Removal And Installation
    • ARM
      • Description
      • Removal And Installation
      • Arm To Boom Bushing Removal And Installation
      • Arm To Bucket And Bucket Link Bushing Removal And Installation
    • BUCKET
      • Removal And Installation
    • TAILGATE
      • Removal And Installation
      • Latch Removal And Installation
    • COUNTERWEIGHT
      • Removal And Installation
    • OPERATOR BONNET
      • Removal And Installation
    • QUICK COUPLER (KLAC™ SYSTEM)
      • Troubleshooting
      • Daily Inspection
      • Removal And Installation
      • Parts Identification
      • Disassembly
      • Assembly
    • QUICK COUPLER (LEHNHOFF® SYSTEM)
      • Troubleshooting
      • Daily Inspection
      • Removal (MS03 And MS08)
      • Installation (MS03 And MS08)
      • Parts Identification (MS03)
      • Disassembly And Assembly (MS03)
      • Parts Identification (MS08)
      • Disassembly (MS08)
      • Assembly (MS08)
    • RIGHT SIDE COVER
      • Removal And Installation
  • ELECTRICAL SYSTEM
    • ELECTRICAL SCHEMATICS
    • ELECTRICAL SYSTEM INFORMATION
      • Glossary Of Electrical Symbols
      • Troubleshooting
      • Description
      • Fuse And Relay Location / Identification
    • BATTERY
      • Servicing
      • Removal And Installation
      • Using A Booster Battery (Jump Starting)
    • ALTERNATOR
      • Belt Adjustment
      • Belt Replacement
      • Charging System Inspection
      • Alternator Voltage Testing
      • Parts Identification
      • Removal And Installation
    • STARTER
      • Testing
      • Removal And Installation
      • Parts Identification
    • LIGHTS
      • Boom Light Removal And Installation
      • Boom Light Bulb Replacement
      • Cab Light Removal And Installation
    • MAGNETIC LOCKOUT SENSOR
      • Removal And Installation
    • TWO-SPEED SWITCH
      • Removal And Installation
    • FUEL LEVEL SENDER
      • Removal And Installation
      • Testing
    • DIAGNOSTIC SERVICE CODES
      • Viewing Service Codes
      • Number Codes List
    • CONTROL PANEL SETUP
      • Password Setup (Keyless Start Panel)
      • Maintenance Clock
    • KEY SWITCH
      • Removal And Installation
    • MOTION ALARM SYSTEM
      • Description
      • Inspecting
      • Adjusting Switch Position
    • WIPER MOTOR
      • Removal And Installation
  • ENGINE
    • ENGINE INFORMATION
      • Description
      • Specifications
      • Crankshaft Re-Grind Data
      • Torque Values
      • Troubleshooting
      • Engine Removal And Installation
      • Engine Mount Replacement
      • Engine Compression – Testing
    • SPARK ARRESTER MUFFLER
      • Removal And Installation
    • AIR CLEANER
      • Removal And Installation
    • ENGINE COOLING SYSTEM
      • Radiator / Oil Cooler Removal And Installation
      • Fan Removal
      • Water Pump Removal and Installation
      • Thermostat Removal and Installation
      • Thermostat – Testing
    • LUBRICATION SYSTEM
      • Oil Pan Removal And Installation
      • Oil Pump Removal And Installation
      • Oil Pump – Service
      • Engine Oil Pressure – Testing
    • FUEL SYSTEM
      • Fuel Shutoff Solenoid Removal And Installation
      • Fuel Injection Pump – Testing
      • Fuel Injection Pump Removal And Installation
      • Fuel Injection Pump – Timing
      • Fuel Camshaft Removal And Installation
      • Fuel Camshaft Governor
      • Fuel Injector Removal And Installation
      • Fuel Injector Nozzle Pressure – Testing
    • CYLINDER HEAD
      • Glow Plug Removal And Installation
      • Valve Clearance Adjustment
      • Valve Timing – Checking
      • Cylinder Head Removal And Installation
      • Cylinder Head Disassembly And Assembly
      • Cylinder Head – Servicing
      • Cylinder Head Top Clearance
      • Valve Guide – Servicing
      • Valve And Valve Seat Reconditioning
      • Valve Spring
      • Valve Tappets
      • Rocker Arm And Shaft – Servicing
    • CRANKSHAFT AND PISTONS
      • Piston And Connecting Rod Removal And Installation
      • Piston And Connecting Rod – Servicing
      • Cylinder Bore – Measuring
      • Connecting Rod Alignment
      • Crankshaft Gear Removal And Installation
      • Crankshaft And Bearings Removal And Installation
      • Crankshaft And Bearings – Servicing
    • CAMSHAFT AND TIMING GEARS
      • Timing Gearcase Cover Removal And Installation
      • Timing Gears Measuring Backlash
      • Idler Gear And Camshaft Removal And Installation
      • Idler Gear and Shaft – Servicing
    • FLYWHEEL AND HOUSING
      • Flywheel Housing Removal And Installation
      • Hydraulic Pump Coupler Removal And Installation
      • Flywheel Removal
      • Flywheel Installation
      • Rear End Plate Removal And Installation
  • HEATING AND VENTILATION
    • HEATER SYSTEM
      • Description
      • Components
    • REGULAR MAINTENANCE
      • Filter Element Removal And Installation
    • HEATER UNIT
      • Removal And Installation
    • HEATER COIL
      • Removal And Installation
    • HEATER FAN
      • Removal And Installation
    • HEATER VALVE
      • Removal And Installation
  • SPECIFICATIONS
    • EXCAVATOR SPECIFICATIONS
      • Machine Dimensions
      • Performance
      • Controls
      • Engine
      • Hydraulic System
      • Hydraulic Cylinders
      • Hydraulic Cycle Times
      • Electrical
      • Drive System
      • Slew System
      • Undercarriage
      • Capacities
      • Tracks
      • Ground Pressure
    • TECHNICAL SERVICE GUIDE SPECIFICATIONS
      • Engine
      • Engine Torques
      • Cooling System
      • Excavator Torques
    • TORQUE SPECIFICATIONS FOR BOLTS
      • Torque For General SAE Bolts
      • Torque For General Metric Bolts
    • HYDRAULIC CONNECTION SPECIFICATIONS
      • O-ring Face Seal Connection
      • Straight Thread O-ring Fitting
      • Tubelines And Hoses
      • Flare Fitting
      • Port Seal Fitting
    • HYDRAULIC FLUID SPECIFICATIONS
      • Specifications
    • CONVERSIONS
      • Decimal And Millimeter Equivalent Chart
      • U.S. To Metric Conversion Chart
    • SERVICE TOOLS REQUIRED
      • Remote Start Tools
      • Hydraulic Tools
      • Engine Tools
      • Electrical Tools
      • General Tools
      • HVAC Tools
  • ALPHABETICAL INDEX
  • SERVICE SCHEDULE SYMBOLS

Bobcat Software

Bobcat PDF Manuals

Related Manuals

0
    0
    Your Cart
    Your cart is emptyReturn to Shop